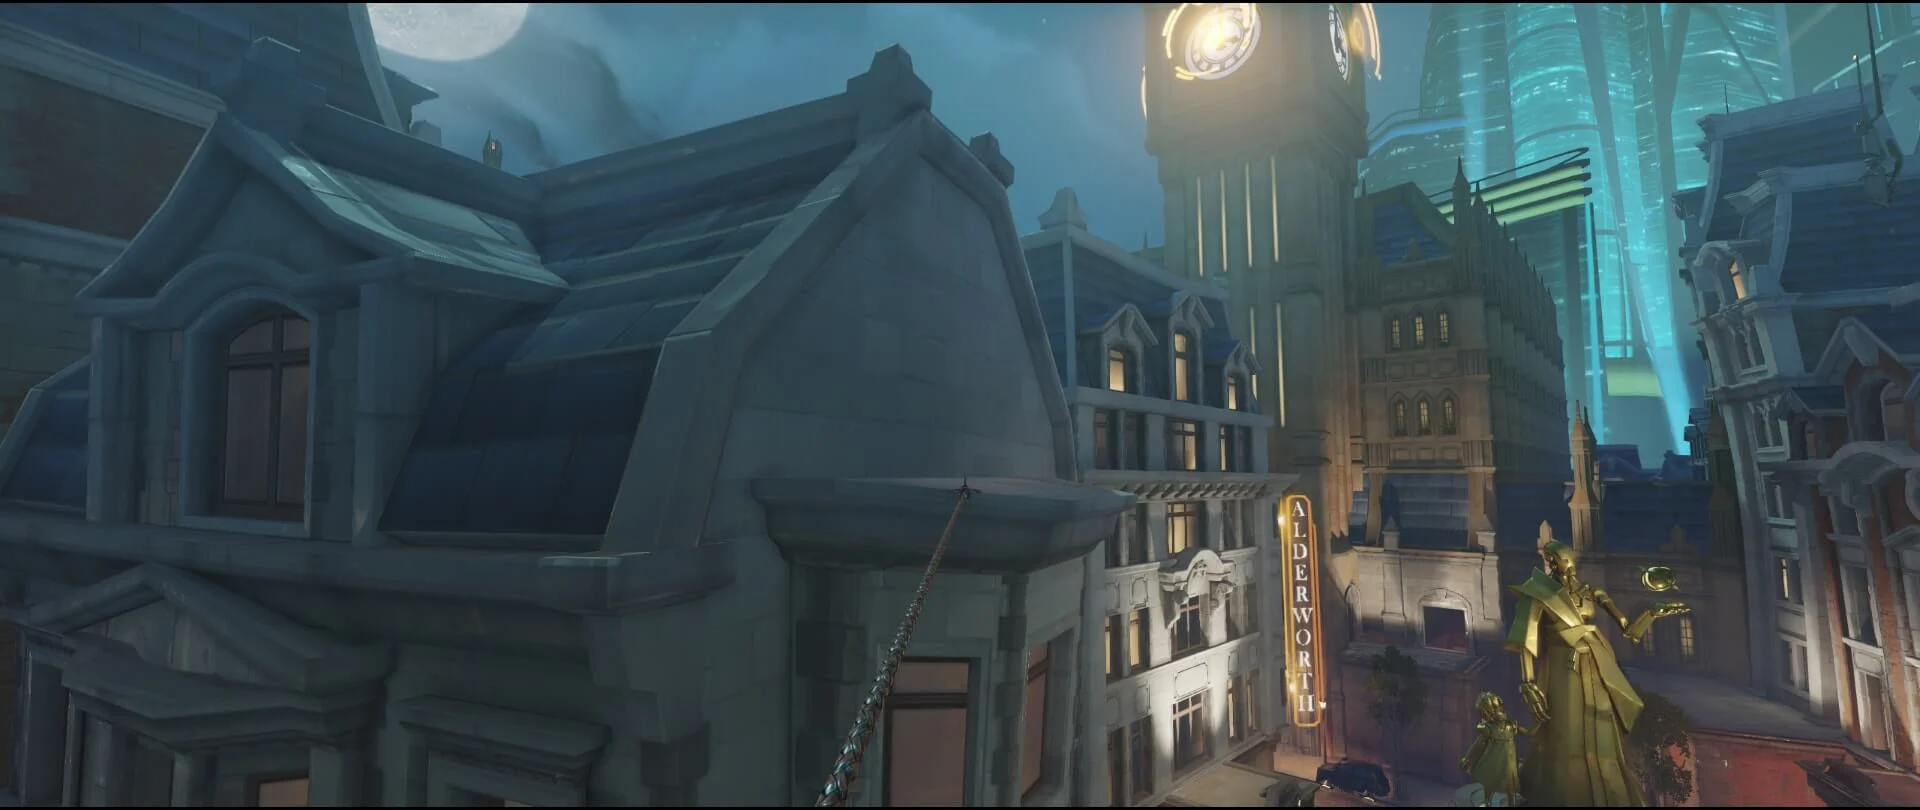
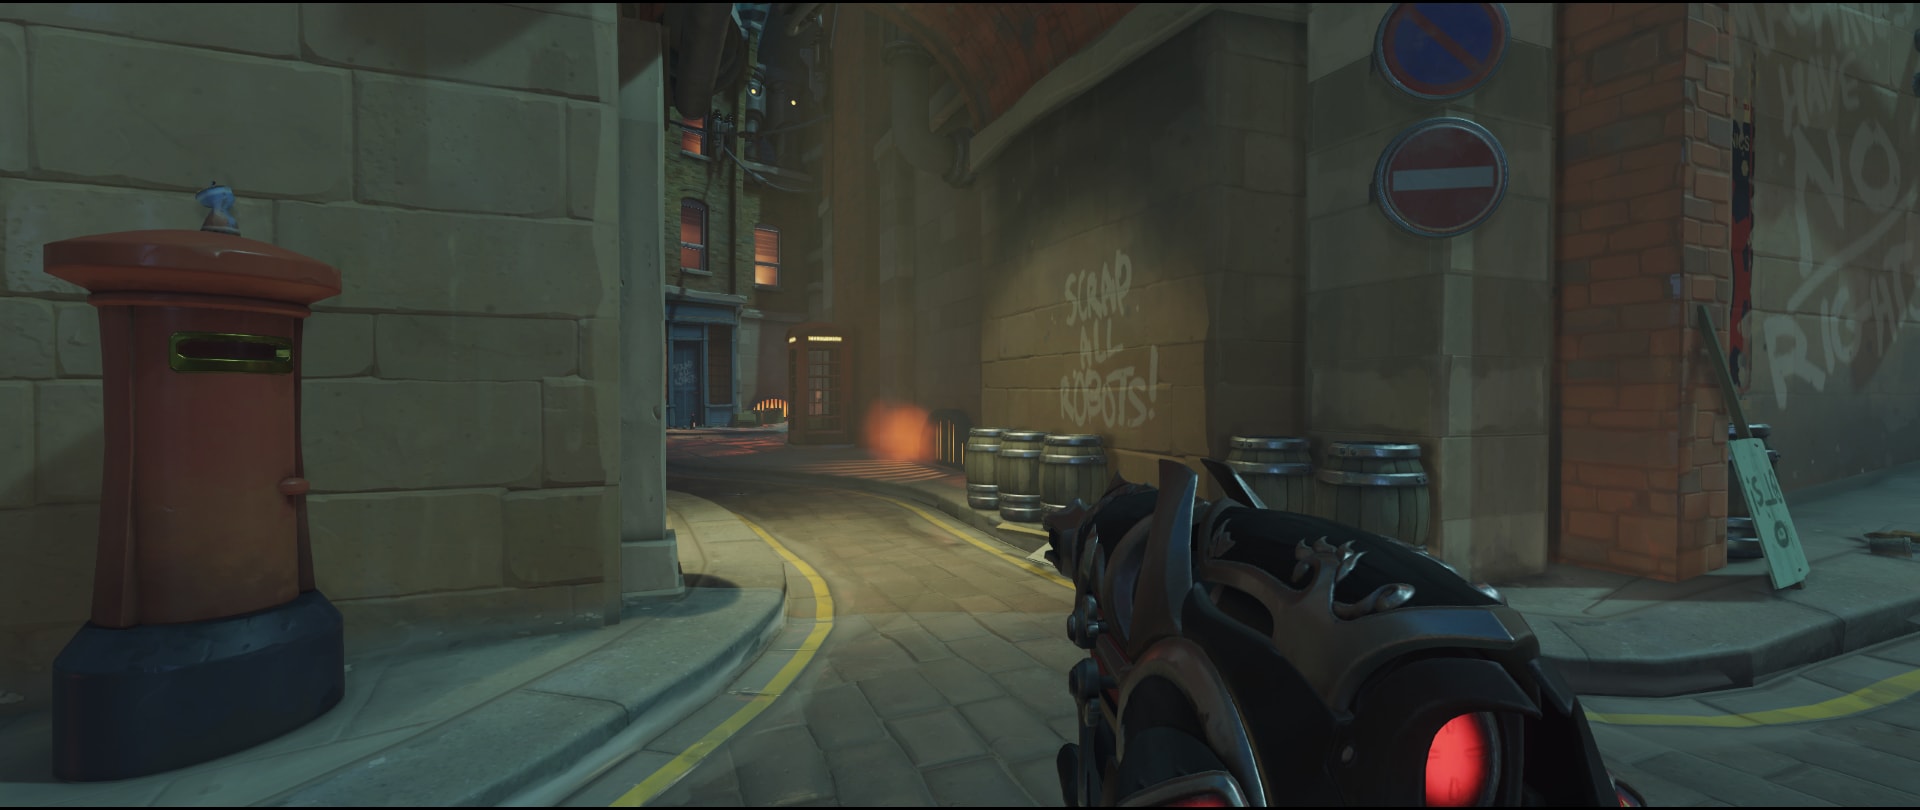
The best sniping spots for Widowmaker on King’s Row

The sniping spots on King’s Row that all beginner and intermediate Widowmaker players should know. Learn the best places to contribute to the battle.
Check out all the articles in my series about the best sniping spots for Widowmaker:
Hybrid Maps
Assault Maps
Escort Maps
Aim is important, but positioning is the key to victory. As a sniper, having a good aim is indispensable, but knowing the positions from where to shoot without being seen makes the difference between life and death. I analyzed streams, videos, and pros gameplay to compile a list of the best and most used sniping spots.
Positioning when pushing, flanking, and in teamfight. We will have a look at the best placements to push, defend, take part in teamfight, and predict the movements of the enemy Widowmaker - both on offense and defense.
No Grapple shots. A Grapple shot is a scoped headshot performed in mid-air, using Grappling Hook to reach max height and “fly” momentarily. This article is thought for new or intermediate players, and I consider Grapple shots a mechanic for advanced ones. I might prepare a guide on them in the future.
Widowmaker duels. Depending on the situation, bodyshots and a correct use of your SMG (often underestimated) may be crucial, but when facing another Widowmaker you should always attempt to headshot her. We will study the best places to kill her while remaining concealed.
Keep moving. Thanks to Grappling Hook, Widowmaker is a relatively mobile hero - you should exploit this strength to rotate the spots and escape from flankers. Relying too much on the same location could be your ruin.
Note: even if I have explained some placements only from the perspective of the defenders or the attackers, you can use several of them for both purposes.
While explaining the spots, I might use some map callouts: List of all map callouts, and credit to their creators.
Beware from mobile. All pictures are optimized, but there are about 80 on this page.
First Point - Attack
This is the best starting position. Exit from the spawn using the left route, so the enemies won't notice your movements, and launch your grappling hook to reach the platform.
It is a sneaky placement that most players do not check at the start of the match, so you can count on the element of surprise for the first pickoff.
There are three areas you must investigate:
Alley. Behind the wall, next to the stairs (image 2). Often, hitscan heroes stay in this area before moving on the high ground.
Alley. The high ground position you can see behind the statue (image 3). If you engaged someone at the stairs, the will probably escape and relocate here.
Clock. The high ground position in front of you (image 4).
If you scored a kill or two, and the team is able to break through the choke, advance to the next platform, and help them damaging the opponents that are still defending the area around the statue.
The "classic" starting point does its job, but everyone knows that Widowmaker will attack from here. Do not place yourself behind the window before the start of the match because the enemy team might spot you and arrange a counter pick.
From here, you can reach an even better position (image 2) and shoot at the unaware people below. It works great if the teams are fighting around the statue as the enemies will be too busy to notice you. Crouching, you can also hide partially your silhouette.
Movie. Three very underestimated spots. From these areas, you have a fair visual on the point, and can eliminate easily any threat on the two high ground positions (image 3).
The first two places are on the ground level; the other one on the bus. You can use them to eliminate high ground targets (image 1 and 3) or to a have a direct line of sight on the point (image 2).
Perch. A solid spot if the team is fighting on the point. Stay crouched to avoid as many hits as possible, and try to headshot the defenders entering from the choke.
Some players love fighting from the top of the statue, but I believe the position is unsafe as you will become an easy target.
Hotel. A possible flanking route. I do not suggest this approach as it is very dangerous.
A series of places from where you can counter the remaining high ground positions used by the defenders' Widowmaker.
In the first two, use the statue for cover. The remaining ones are on Clock.
First Point - Defense
A good starting spot to shoot at the enemies while they get out of the spawn.
The statue is a great placement to fight the enemy Widowmaker in her classic starting point. You can attack other areas as well, such as a portion of Movie.
Some players even jump on the top of the statue, but I do not recommend this position because once spotted you will have no cover.
In the fourth image, you can exploit the garden area for protection. This is one of my preferred placements when dueling a Widowmaker because she usually focuses her attention on the point and the choke.
All basic high ground positions. Everyone knows them, and I have already explained how to counter them as the attacker. They do their job and you will be able to get some headshots.
Try to not remain for too long in the same position, and follow the enemy movements to avoid nasty surprises.
The main placement on the first point.
Great line of sight on the choke and Movie.
Usually, there is a shield-tank protecting the area, so you are well-covered, and can have easily the upper hand against the enemy Widowmaker near Movie.
It is relatively hard to flank because the enemies must go around through all the buildings on the left.
Standard high ground areas that can be used once the teams are fighting on the point.
The first position is a high-risk but high-reward flank. If used at the right time, while the teamfight is taking place on the point, you might be able to kill the enemy supports as they will be completely defenseless.
The second is a placement I personally love, and you might have noticed it in my Torbjorn guide as well.
It is great to attack anyone heading to the point, or the hitscan heroes camping the high ground area at the opposite side of the plaza. It is a very safe spot, and you should survive as long as your team is alive.
Second Point - Attack
The standard spots for the first battles while pushing the Payload.
Most players fight from Halls (image 1), while Perch (image 3) is rarely used at lower ranks.
Due to the conformation of the second point, try to exploit the high ground areas as much as possible.
Once the payload advances, move on Pub, and contribute to the successive teamfights (image 2).
This placement is also convenient to attack the enemy Widowmaker, which is usually positioned on Catwalk (image 3). She will check this area as well, so sometimes you might have to attack her from the ground level while she is distracted (image 4).
After your team conquers the area, you can move to Catwalk to headshot any opponent coming from the spawn.
A possible flank route. It is really risky and works only if the enemy team is busy.
Second Point - Defense
The starting spots as the defender. From the first you can attack the players pushing the payload, while the second is effective if your team is engaging the enemies at the choke. Take care because hitscan heroes can easily kill you from Halls.
Once the payload advances, retreat in the successive positions.
The second spot is mostly a flank one. You should be able to acquire some kills while the enemies are pushing the payload. Many players won't expect an attack from behind.
In the first picture, you can see another possible location for a few shots while the opponents are pushing. Afterwards, retreat on Catwalk for the main fight.
The best defensive spot on the second point. You have a great visual on the area around and below, where the teams will fight most of the time. Just beware of enemy snipers as they can kill you from the stairs on Pub.
Another defensive location for the final area of the point. There is a health pack nearby, and a convenient escape on the left.
Third Point - Attack
While the payload is moving on the road, just stand in this safe position and kill any opponent that overextends.
Afterwards, jump on these boxes, and you will be able to hit anyone in the area while remaining under cover. This placement is great to counter the enemy Widowmaker as you have access to all her usual spots.
Move to the position showed in the second picture to attack from the high ground while the teamfight takes place below. From here you have also a partial vision of the point (image 3).
Afterwards, launch your Grappling Hook on the successive high ground for the final fight on the point.
Third Point - Defense
Three standard placements to attack the enemies spawning.
Use them only if your team is holding the position.
The third one on Catwalk is the safest as you can easily escape via the high ground.
A basic spot that works well if your team is contesting the payload. You can also flank the opponents (image 3), get some easy kills, and escape.
These placements are great to defend the second portion of the road.
The first two are on the ground level, but you are quite safe behind the box and the barrel.
The third is on the high ground - far away from the battle but without cover.
In both positions, beware of the enemy Widowmaker which may be hidden behind the boxes at the opposite side of the room.
Another flanking spot. Depending on the enemy lineup, it might change the fate of the match. From here, you can easily shoot at all opponents while they are struggling for the final battle on the point.
The standard defensive placements to cover the point.
The first one is a bit riskier because they can flank you from the right, but you can always escape using the Grappling Hook to reach the high ground.
The second one is safer as long as your team is alive, but once the enemies take the control of the area, you have to relocate elsewhere.
I do not recommend the left side of the room because there are no escapes, and it is usually the first place checked by the opponents.


