
Best Symmetra Shield Generator spots on Route 66

The best and safest Shield Generator spots on Route 66 that work even at high ranks. Learn the best locations for Symmetra!
Check out all the articles in my series about the best Shield Generator spots for Symmetra:
Assault Maps
Escort Maps
Hybrid Maps
Control Maps
Focus on defense. I know that Symmetra can be played also in attack, but in these guides I will show only placements for the defender team. Note that some of them might work even for the attackers.
Safe placements. The Shield Generator has an unlimited duration and will keep working until destroyed. The enemy team will try to find and break it as soon as possible, so it is essential to place it in a hidden and “secret” location.
The best spots. I will show you some of the best placements in each map that work even at high SR, and alert when you should avoid an overused or risky one. Beside these locations, there are other viable options depending on your skill rating, but I skipped the obvious ones.
Position and range. The main spots have also pictures showing the max range of each Shield Generator.
No turret climbing or Mei required. For this series, I decided to not feature spots that can be reached only via Mei’s Ice Wall or turret climbing.
Shield Generator or Teleporter. I will not argue about the perfect choice on each map and point, but just explain the best spots for the former. Of course, some of these locations can be used also for the latter.
Please note. I used Sentry Turrets to mark most of the secondary or wrong Shield Generator placements. Unfortunately, it is necessary to restart the lobby to place a new one.
Click an image to enlarge it.
Route 66
Route 66 doesn’t have many possible placements, but they are all very effective.
Both in the first and second point, you need to exploit the huge range of the Shield Generator and build it in the successive sections of the map.
First Point

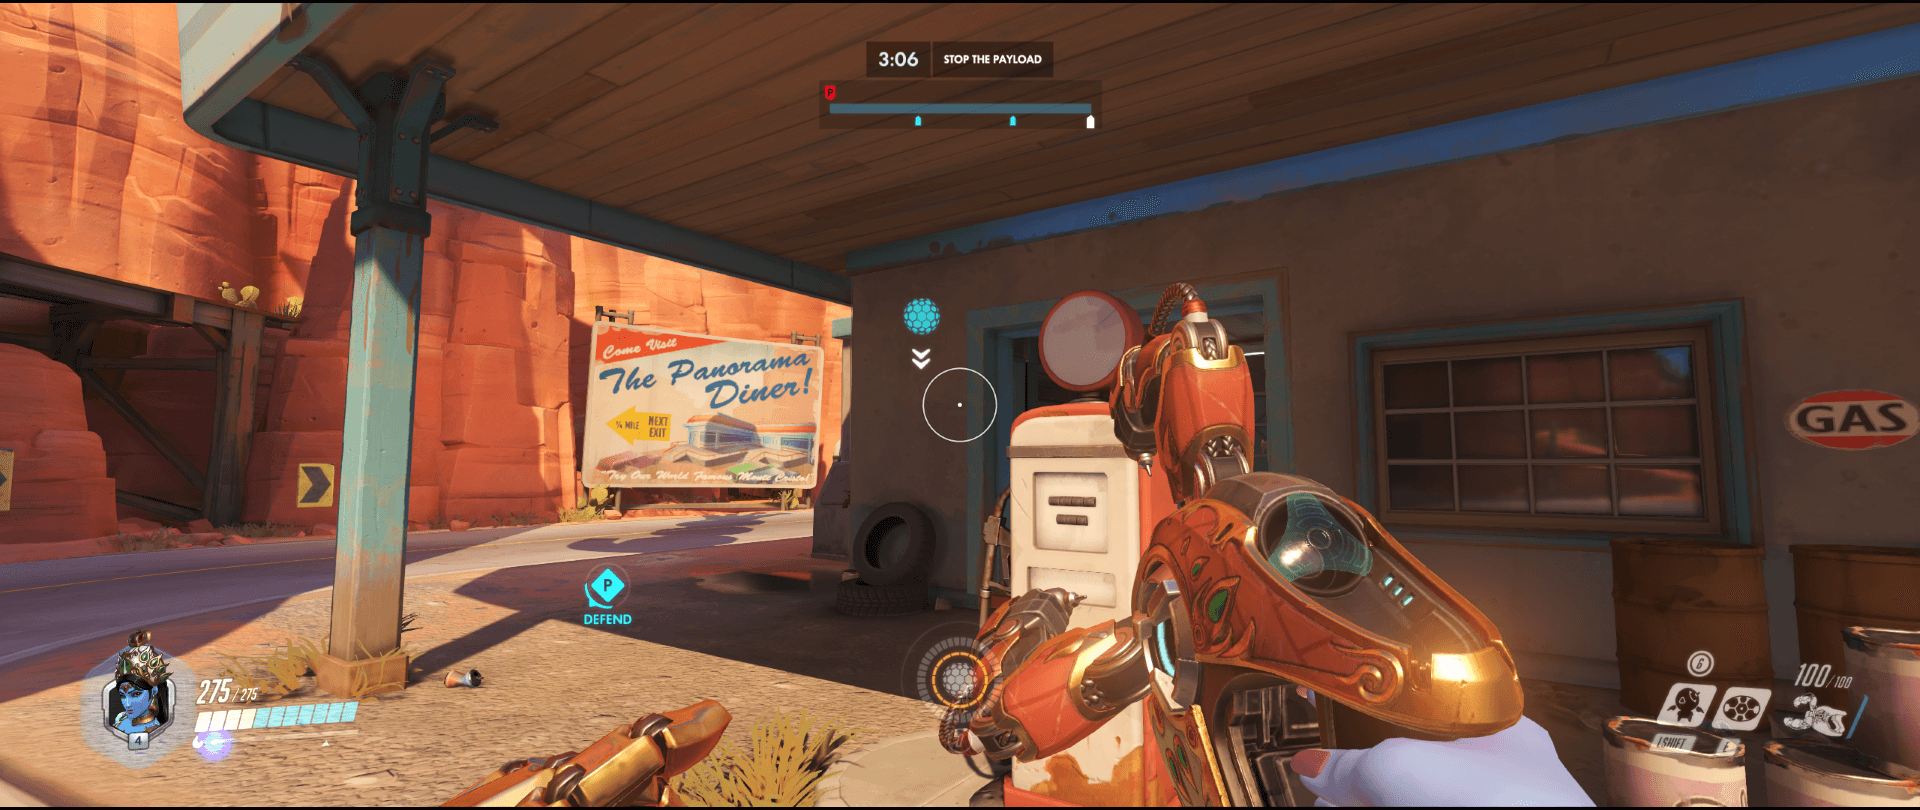


These three spots are all viable, with minor variations in range and safety.
The first one is doubtless the most used and has the larger reach, but is also the most vulnerable as it is in plain sight.
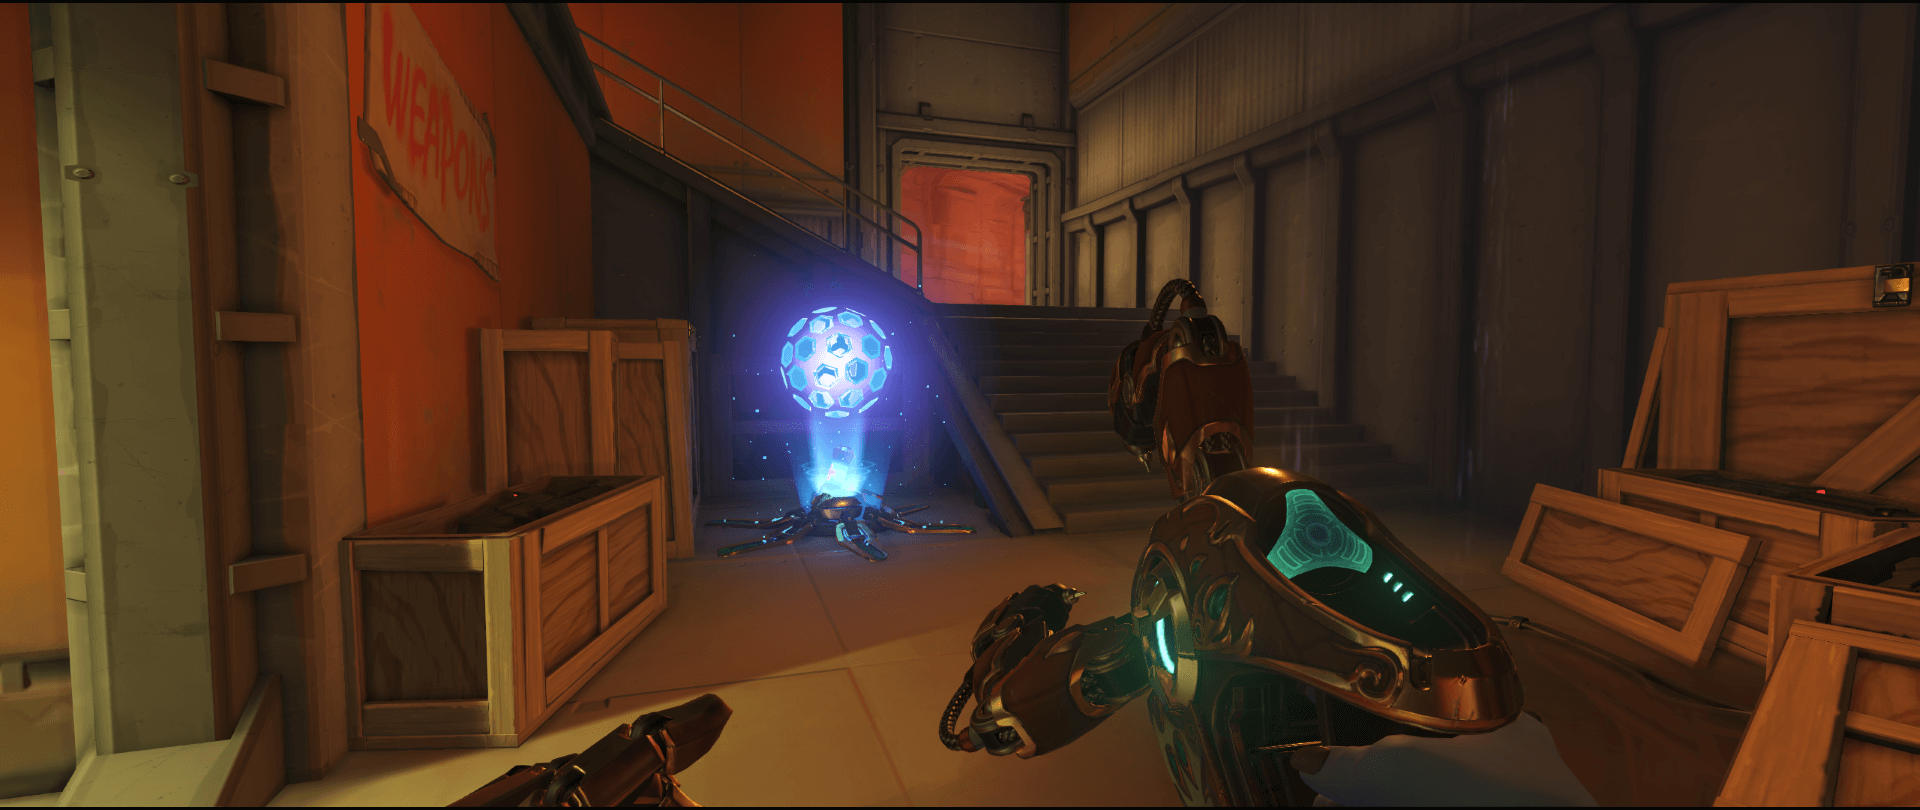
Alternatively, you can place it in the room below. I do not recommend it because some flankers could get here for the health pack.
The third one is the safest, and also my recommended option. At a negligible cost in range, you can use a well-hidden location - those that do not know this placement will never get here.
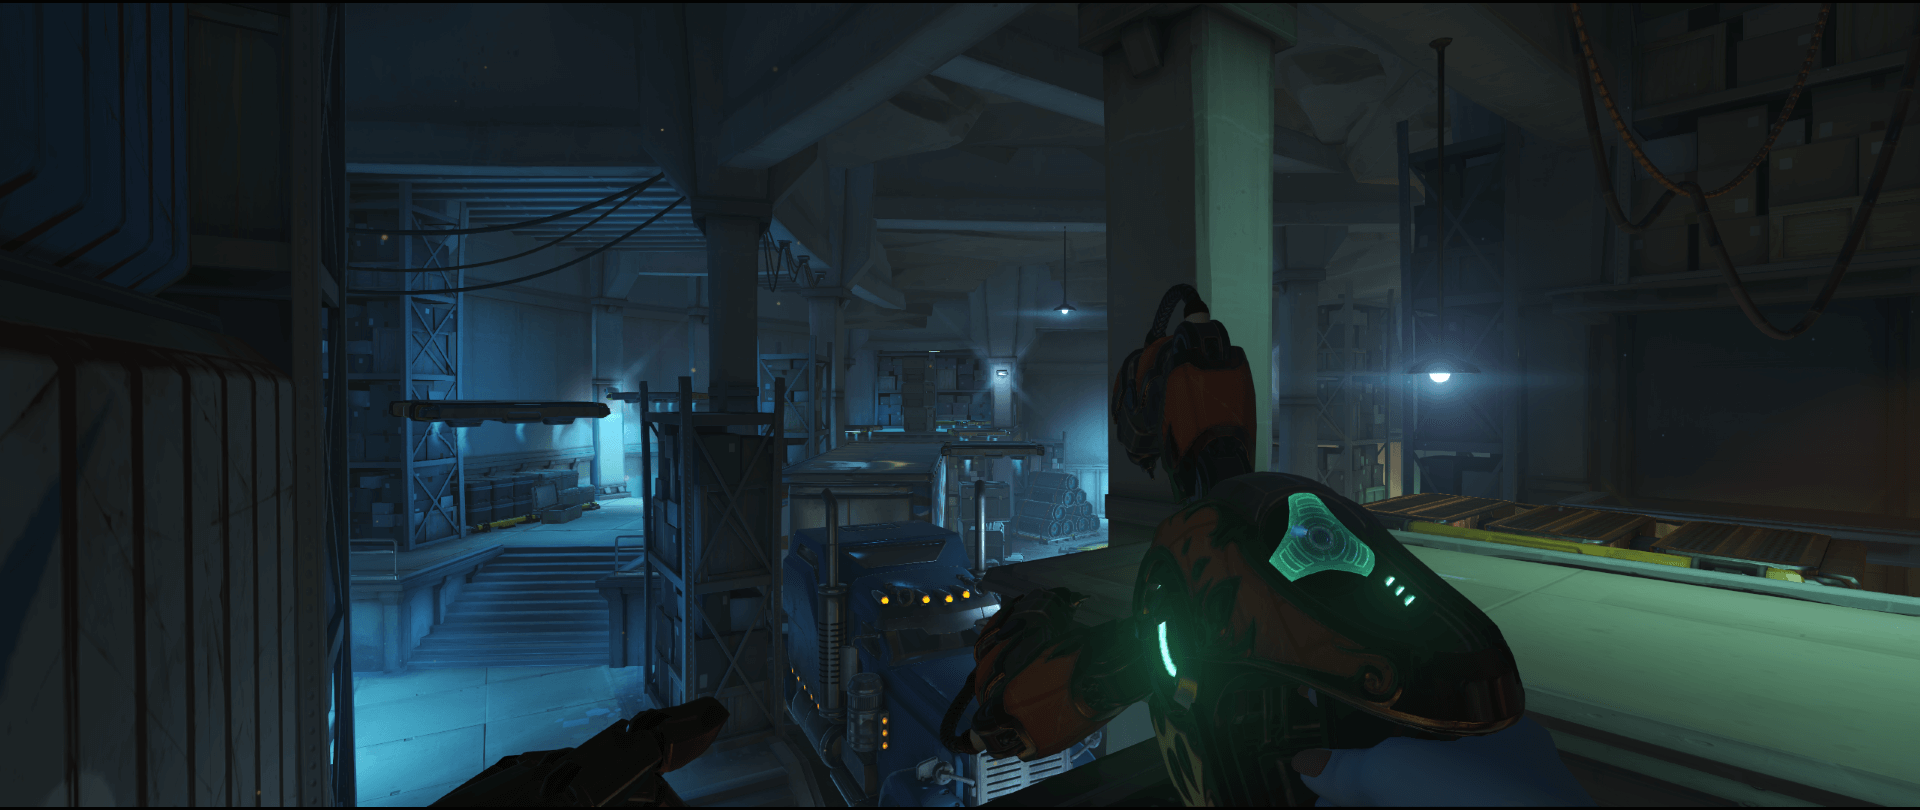
Second Point


Again, there are three possible spots, but the first one is certainly the best choice as it offers an excellent compromise between range and security. People will never find it here.
The second generator covers the largest area, but the attackers overextending in this zone will find it easily.
The third one is the worst. It is safer than the second, but you lose too much range if compared to the others.
Third Point


Note: place the Shield Generator more to the right in order to hide the blue light from the main road.
To be honest, this location is spotlighted in many videos because there are no other possible placements in the area. The third point is a long corridor, and the opponents can easily reach any place.
Still, I believe that most players do not know it. Even if they are aware of this position, many heroes will have an unpleasant time trying to reach it as your team can simply shoot at them while they are on the moving platforms.
You should definitely use it whenever possible, but I suggest to give up and swap hero if the opponents can destroy it: you won’t have a second chance.
Vincenzo is an esports analyst, publisher, and writer with over a decade of industry experience. Formerly the head editor for Natus Vincere (NaVi), he has produced content for a wide range of gaming platforms, including DreamHack, DOTAFire, 2P, and FACEIT.
His comprehensive esports research and competitive data are globally recognized and regularly featured in academic and industry studies. Learn more about his background on the About Us page.