
Best Torbjorn turret placement spots on Watchpoint Gibraltar

The best and safest turret spots on Watchpoint: Gibraltar that work even at high ranks. Play Torbjörn only where he is useful to the team and contributes to the victory.
Check out all the articles in my series about the best turret spots for Torbjörn:
Assault Maps
Escort Maps
Hybrid Maps
Not all maps work. Torbjörn is a truly particular hero that doesn’t work well in all maps, so I will only talk about those where he can be an effective pick.
Defense only. I am aware that in some maps he may work also when played on attack, but honestly I would recommend everyone to pick Torbjörn only when on defense.
You do not need a dedicated shield. When playing Torbjörn, you should be able to contribute without the necessity of a shield-based hero such as Orisa or Reinhardt protecting your turret. Do not complain in the team chat if your turret is destroyed.
Safe placements. The main goal of your turret is to survive and provide cover fire to protect a certain area of the map. Do not place it in an open field from where literally anyone in the enemy team could detect and destroy it.
I will illustrate the best locations for your turret considering the points above.
Beside these spots, there are other viable ones depending on your rank. At lower skill ratings people will often ignore your turret, but I want you to learn only the placements that will work even against experienced players. I did include also some risky spots, and explained in detail when you may consider them.
Watchpoint: Gibraltar


Map callouts: first area of the first point. All the callouts are available here.
First Point
The initial area has many possible spots for the turret, but no optimal ones.
Comms is a horrible location as the building has two entrances plus a roof, so you can be surrounded and overwhelmed easily. Likewise, placing the turret on its roof is a poor idea because the opponents can just snipe or burst it from their spawn.
Usually, Torbjorn players put their turret on Rooftop, but there they require the constant help of the team: a shield-based tank to defend it from frontal attacks, and someone to deal with the flankers coming from Short and Long. Overall, too many resources are needed just to make your pick viable.
There are no safe locations at ground level or in the tunnel.

A turret on the bridge is also ineffective. You could place it here in an attempt to gain some ultimate charge as soon as the game starts, but usually the enemies will dispose of it rapidly.
Snipers can’t attack it from the enemy spawn, and your main location is very close so you have time to rebuild there the turret once this one is destroyed. Feel free to give it a try, but do not risk your life to defend it.

Overlook is the safest position, but nevertheless not a great one. From here, you can cover the back of your team and a tiny portion of the road - the turret is slightly more protected from flankers.
It is still extremely vulnerable to long-range attacks from Pass and Long, and Junkrats can destroy it without even risking their life.

Finally, a wonderful spot to cover the point. The turret is safe against long-range attacks, has an ample vision of the area below, and can protect your team from Pharah.
Only mobility heroes, such as Winston, can quickly reach this position, while the others must move through the long way via the staircase and the room on the left. Honestly, you can easily handle one hero at a time.
I noticed that the Mercy players in the team love this placement as they can just target you and fly here when necessary, to escape from a dangerous situation taking place on the ground.

You could also place the turret on the left side of this platform and use the small box for cover while repairing it. The turret guards a larger area and even a portion of Pit, but it is also more vulnerable. I do not recommend this placement because the opponents can just peek-shoot it from the room on the left.

Alternatively, just put the turret on the ground, immediately below the first high ground position. It is a reasonable location to protect the supports from flankers, and generally it is easier for your team to help if you are under attack.
The decision mostly depends from the heroes you are facing. In my opinion, being on the high ground is desirable if you can survive on your own, otherwise just join your team below.
Second point
In this area, there isn’t a perfect spot that will work for the entire time. Rotate the placement depending both on the enemy lineup and the actions of your team.
Remember that heroes with mobility, such as Junkrat or Genji, can just jump on the ship and deal with your turret from a safe position.


Most players place their turret at one side of the Shuttle. It has a good vision of the area below, but is also very susceptible to ranged attacks, and will be focused constantly by the enemy team. To hold this position, you will need to stay safe in the ship and repair your turret while the teams are fighting on the ground.
To be fair, it isn’t a bad spot and I utilize it when possible. It works great when you have an offensive lineup ready to face the opponents as soon as the doors open. In the chaos, they won’t have the time to notice or properly deal with your turret, and it will greatly contribute to the teamfight.
At lower ranks, your team could hold this position until the end of the game.
A solid spot to protect the point - it is rarely used so no one will expect it. The adversaries must enter in the space guarded by your team to reach the turret.
It has a narrow field of view, but it does a good job protecting your back-line from flankers. A fine location for the final defense when you have Molten Core ready: if the opponents don’t expect it, they will be annihilated while pushing the payload on the point.
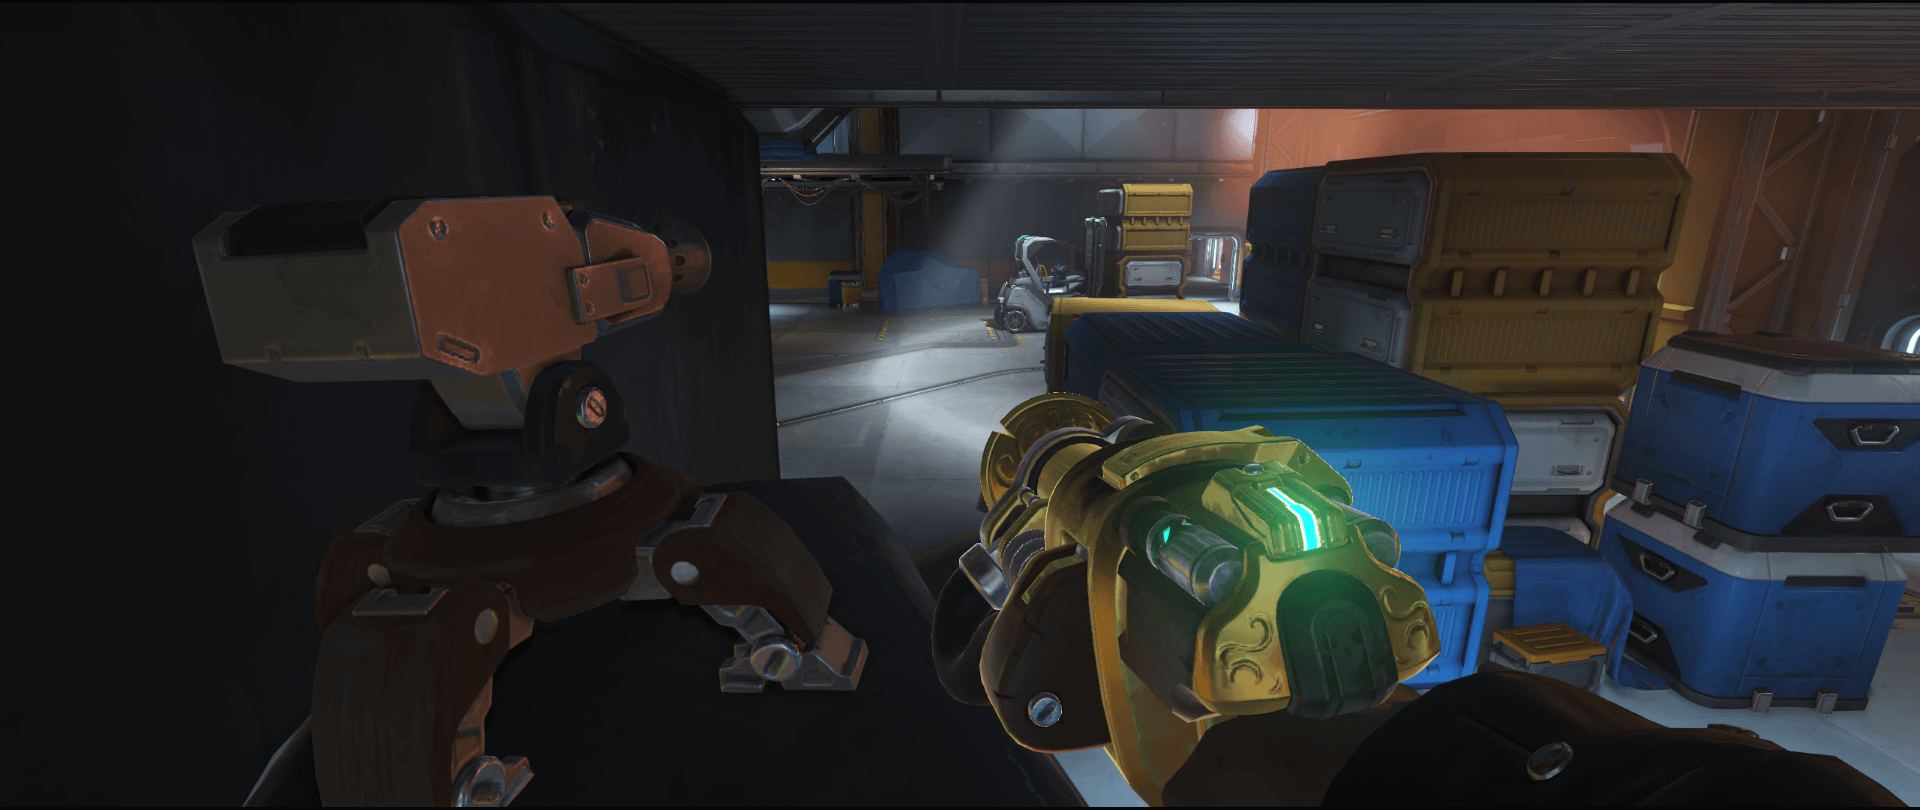
To reach this place just jump on the blue boxes.

The turret can hit the enemies from behind while they are pushing the payload. It is easy to destroy if your team loses the high ground or if the adversaries know your location as they will deal with your turret first. Otherwise, this spot could secure the point from an assault or more.


Two more possible placements on the high ground, but they are all rather easy to counter. On this platform you have a good vision of the point, but any hero with mobility can flank you, or just peek-shoot from the Shuttle. These two spots mostly work at lower ranks.
Overall, no amazing places, but many viable ones, so be sure to rotate and let the enemy team guess every time the position of your turret.
Third Point
This section is just too wide so many heroes can destroy the turret quickly if you place it on the high ground. Avoid it.

Probably the only decent spot to cover the road. You have to take care of the turret, repairing it while staying safe behind the wall. Still, you can be flanked and are weak against long-range attacks.

The spot to use when dealing against dive comps and flankers. The turret can’t shoot at the payload when it is too far away, but can still protect your teammates by creating a safe area. People do not expect this placement, and heroes such as Tracer, Genji, and Doomfist will hate it.
Overall it is a nice and reliable location, but I do not recommend it if the attackers have Widowmaker or Pharah because they can just destroy your turret from the opposite side of the road.

This spot has a limited field of view, but is safe against long-range attacks - flankers can be a problem instead. If you have Molten Core available, a turret here may block a final push.
I want to be completely honest with everyone reading this guide: usually, I just swap to another hero after the second point.
While there are many potential locations to protect the final point, each one of them has its own shortcomings that the enemy team can exploit as soon as they spot your turret.
Do not forget that Torbjorn isn’t a hero that can just adapt to any map, and sometimes swapping hero is preferable if you want to claim victory.
Header image: Blizzard